Two-Factor Authentication with Google Authenticator
Requirements: CoreSSH Server, Google Authenticator
Introduction
This guide walks through configuring Google Authenticator as the 2FA app for a CoreSSH Server user account. Before starting, make sure 2FA is enabled for the user. See Getting Started with 2FA for instructions.
Add the account in Google Authenticator
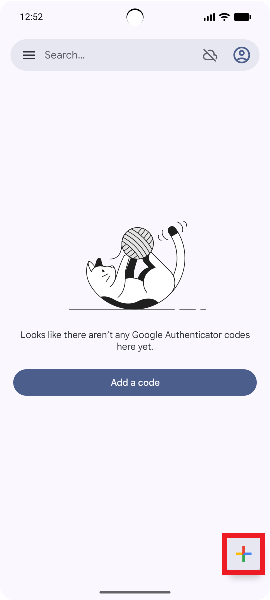
Open Google Authenticator on your mobile device and tap the + button in the bottom right corner.
Scan the QR Code
Select Scan a QR code then point the camera at the QR Code displayed in the CoreSSH Server admin console. Google Authenticator will automatically detect the code and add the account.
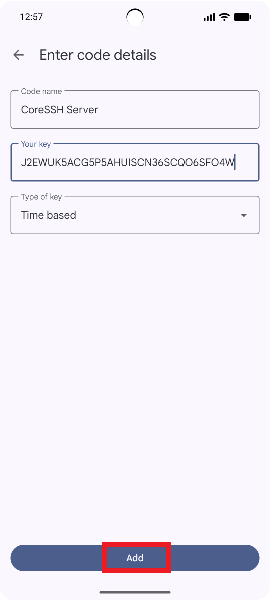
If you cannot scan the QR Code, go back and select Enter a setup key instead. Enter a name for the account and the secret key shown in CoreSSH Server. Leave the key type set to Time based and tap Add.
Verify the setup
Open Google Authenticator and locate the CoreSSH Server entry. A six-digit code will be displayed and refreshes every 30 seconds. Use this code when prompted during SFTP login.
To confirm the setup is working, connect to CoreSSH Server using an SFTP client. After entering your password, CoreSSH Server will prompt for a one-time passcode. Enter the code shown in Google Authenticator.
We appreciate your feedback. If you have any questions, comments, or suggestions about this article please contact our support team at support@coressh.com.